Designing your own home audio setup is the way to achieve the sound you want. I spent a long time experimenting with speakers and amplifiers to create the most optimal system for my living room. Such custom configuration lets you choose the components considering your space, music tastes, and budget.
This DIY guide will serve as a complete overview of how you can build your own bespoke home audio rig from beginning to end, starting with sourcing parts to soldering. You’ll find out how it’s done by building cabinets, connecting crossovers, and setting up stereo imaging so you can boogie in a high-quality fashion.
Assessing your needs and budget
The first stage in planning your sound system setup is the truthful assessment of what you really need and what your budget is. Make a measurement of the room you want to install this system and think carefully about what you will mostly do in it, whether it is movies, music, gaming, or entertaining guests.
Think about such factors as sound quality, power, number of speakers, and surround sound. Be realistic with the amount you can afford to spend. Quality audio gear can get quite pricey, but you could assemble an amazing system even on a small budget if you take the time to define your needs and purchase the proper components. I recommend putting more money into the amplifier and speakers as this is the most direct way of improving overall sound quality.
Optimizing placement is also key. Planning ahead for your sound system setup ensures you get the right gear for your space, listening habits, and budget without overspending on features you may not use.
Choosing the right components
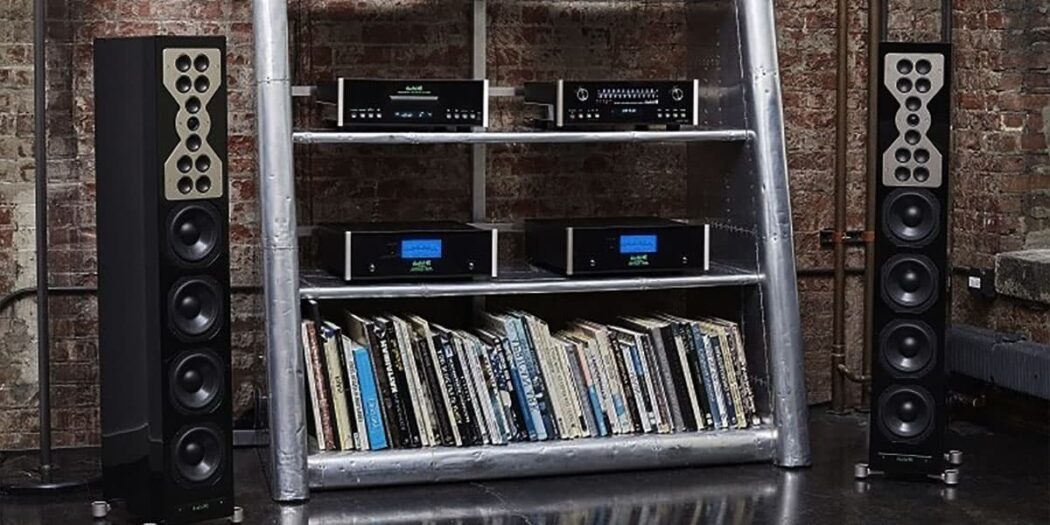
Good amplifier selection is key to putting together an awesome-sounding home audio system. With some knowledge of the core components, you can pick equipment that matches your space, listening style, and budget.
Amplifier
This is what audio component selection must begin with, powering the speakers to reproduce the sound accurately. Slim AV receivers provide both multichannel amplification and video switching in a compact form factor. For stereo setups, integrated amps offer excellent sound quality. Choose an amplifier with enough watts to drive your speakers at your preferred listening volume, factoring in room size.
Speakers
These turn electrical signals into sound waves you can hear. Floorstanding speakers can provide full-range sound for larger rooms. For smaller spaces, bookshelf speakers offer quality at a lower price point. Match your speakers to the power of your amplifier. Also consider directional speakers for a surround sound setup.
Source components
This is your audio library – CD player, turntable, streaming device, etc. Look for components with digital outputs to maintain sound quality when connecting to your amplifier or receiver. Consider wireless streaming options like Bluetooth and Airplay for convenience.
Control system
Tie your whole system together with a control center. AV receivers come with remote controls, but installing custom touch panels provides intuitive whole-home control. Smart home platforms let you use voice commands or automation to operate your audio.
Installation and setup
With the right gear selected, now comes my favorite part: setting up everything for flawless sound. Let me walk you through the steps I took to install and configure my system, ensuring everything from amplifiers to speakers and control systems worked in perfect harmony.
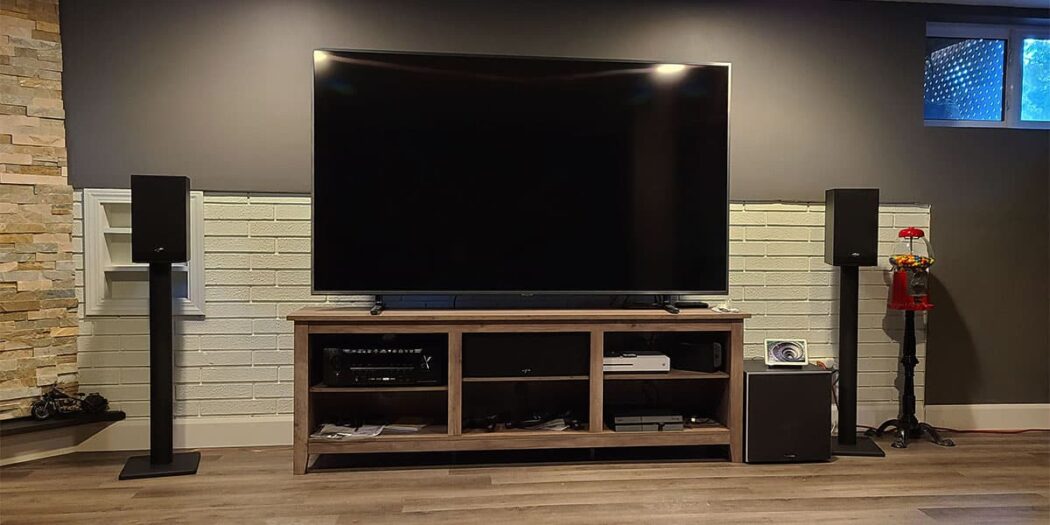
- Carefully place your speakers using room measurements and stereo triangle guidelines – they should be at ear level equidistant from your main listening position. For surround, position directional speakers on the sides and rear according to configuration standards. Run cables from amps and source components to speakers while safely concealing wires.
- Consult your amplifier’s manual on properly connecting all equipment in the system, matching input/output channels, and designating speaker assignments. Connect digital devices like smart TVs and gaming consoles directly to available HDMI ports to utilize the receiver’s onboard decoding – this prevents signal degradation from unnecessary conversions. Spin analog sources like turntables through the phono input.
- Once physically set up, optimize audio settings through built-in room calibration processes. Receivers prompt you to place a calibration microphone at the main listening position so it can analyze your room’s acoustics and tune the system accordingly. You’ll be amazed how proper equalization perfects the frequency response in your space.
- Finally, adjust individual channel volumes and crossover frequencies so all speakers blend seamlessly. The control system knits everything together, allowing centralized access from intuitive keypads or voice commands via integration platforms.
Following meticulous positioning, input assignment, and tuning guidelines rewards you with clear, balanced surround sound from rooms small or vast. So grab some zip ties and get busy!